Edible printing is the technique that allows you to print your own digital pictures and eat them too. You can print them using Icinginks specialized edible printers and icing sheets. The initial process is the same as if you are used to printing regular images. The only thing that differs is the edible cartridges and the paper. Instead of regular cartridges, you need food-grade edible coloring ink cartridges and instead of regular paper, you need edible printable papers i.e frosting sheets or wafer papers.
Things Required for Printing Edible Images:
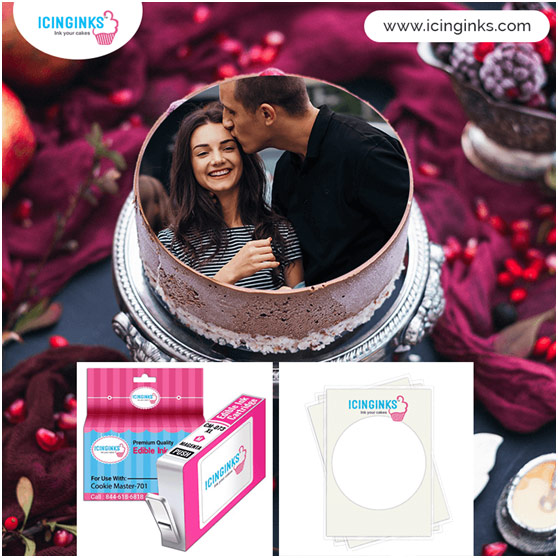
A photo which you want to print on the cake.
Edible Printable Sheets: Buy online wafer sheets, frosting sheets or chocolate transfer sheets here.
Edible Cake printer: Buy a printer exclusively designed to cope with edible papers and edible paints here.
Steps for Printing the Edible Cake Topper:
Do not remove the plastic backing prior to printing.
Place the frosting sheet in the printer with the frosting side up (plastic on the back).
Ready your edible printer with edible ink cartridges and blank frosting sheets.
Give the command to print and it will slowly print on your frosting sheet.
Once the sheet has been printed, allow the sheets to get dry for 5-10 minutes.
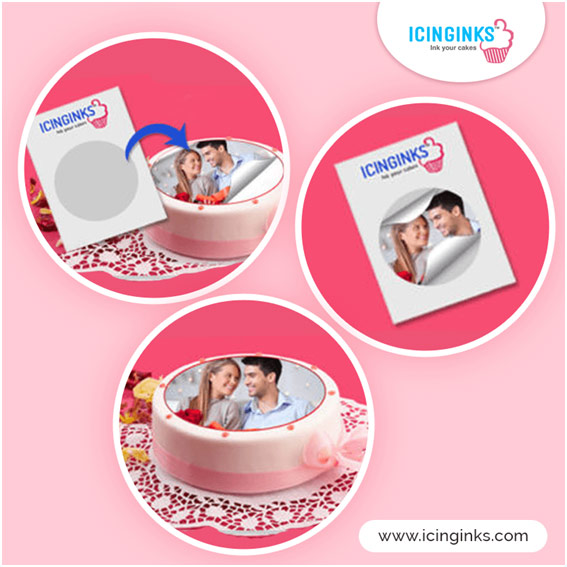
Now detach and uphold the cake image from the frosting sheet.
How to Release the Edible Image from the Printed Frosting Sheet?
To release the image from the backing sheet, place the printed frosting sheet in the freezer for 30-60 seconds (if you are in a humid and warm atmosphere) Or heat it up a bit (if you are in a cold and freezing atmosphere). Simply hold the corners (image facing up) and roll across the sharp edge of a tabletop. Slowly working in from all sides toward the center.
How To Remove The Plastic Backing From Frosting Sheets In Cold/Freezing Climate?
a) Use a blower-type Hairdryer (or any other hot air supply) on the reverse side of the backing sheet on high hot for 30-40 seconds. After heating the backing, let it cool down before attempting to remove the icing sheet. (the cooling process allows the icing sheet to stiffen) This method is very reliable and should solve your release problems.
b) Place in a warm dry oven at a low temperature, for about 1-2 minutes, or lay the sheet on a warm pan for a minute or two. As in the previous method, let the icing sheets cool down before attempting to remove the plastic backing. After printing, and with dry hands, place the printed Frosting Sheet onto a freshly decorated butter-iced cake ensuring ensure the icing is still moist or sticky. It is this moisture in the icing that will ensure the image blends with the cake. For best results, it is ideal if the top of the cake is relatively smooth. Also, gently smooth the image onto the cake surface with your hand to remove air bubbles. Leave for about 20 to 30 minutes to allow the printed image to absorb into your cake’s icing and become a part of the cake.
Troubleshooting Tips for Edible Sheets:
You can save the backing sheet which you can use father for the loosening of another frosting sheet.
Sometimes your frosting sheets become dry and brittle. This is usually caused by your current room temperature or a faulty zip-lock bag, or failure to close the zip lock bag after removing an icing sheet. To re-hydrate the icing sheets they may be sprayed with a fine mist of water, using an airbrush, or any other water misting device. They will become moist again, and you may have to wait a few minutes for them to dry back to a usable condition. It is advisable to spray a bit of water if buttercream forms a mist.
Do not add extra moisture to non-dairy whipped toppings.
Source: https://www.icinginks.com
